One of my demonstrations in my Defying Gravity lecture involves a catapult and it’s nearly finished! The paint is drying as I type and tomorrow morning you will find me in the Park playing with it. If you’d like one of your own, here’s how to do it:
1. Build a Prototype
This was my first attempt at building a catapult and I wanted to understand the mechanics of it before going on to build a large scale one.
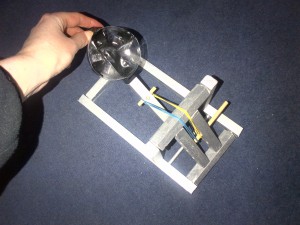
So, based on some research I did I managed to produce this:
It’s not very big, but it did throw a tennis ball 50-60 cm, so not bad. The wood used was 12 mm x 12 mm and the length of the longest side was 15 cm. Now that I’ve got a small version that works I can scale it up. I need something that is going to throw much further than 50-60 cm.
2. Draw up a Plan
Essentially there are three elements to a catapult that you need to construct:
- A rectangular base
- A barrier to restrict the throwing arm
- A throwing arm.
I drew out basic diagrams for these and decided on the lengths of all of the pieces of wood that I would need. This time the wood I went for was 33 mm x 33 mm. The lengths of wood used varied from 120 cm to 40 cm.
3. Be Accurate
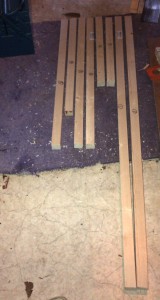
Based on my plan, I sawed the different lengths of wood and numbered them according to my Plan:
I know that the title of this section is “Be Accurate”. I wish that was something I had been able to maintain throughout this project, but with my manual dexterity being, well, crap I had to do with the results being a bit ragged around the edges.
4. Be Prepared to be Flexible
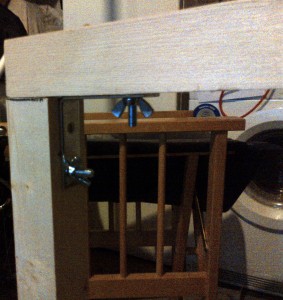
I had started this project with the aim that the catapult be something that could easily be taken apart and put back together again. I’m travelling to 35 different venues across the UK with it, so it’s important that I can pack it away easily. Initially I had planned to make really nice joints between the corners, so that they would sit nicely together. The problem is that the last time I did something like this I was 12 years old and in Design & Technology. Even then I was only making a letter holder. So, lacking in the requisite skills I decided to use metal joints, nuts and bolts (a timely suggestion from my Dad). I picked up the required nuts, bolts and joints from our local Homebase.
I laid out the base and marked it up with a pencil where I would need to drill the holes through the wood.
I really enjoy drilling holes (no joke!), so I was looking forward to starting. Unfortunately, since I’d last used the drill (for another demo) I had mis-placed the key to change the drill bits. Embarrassingly, I headed to Homebase for the third time that day to get a replacement. I had been once for the wood and again for the nuts and bolts. Once I had it, I was off and prepped all of the pieces of wood and began assembling them.
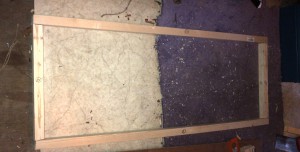
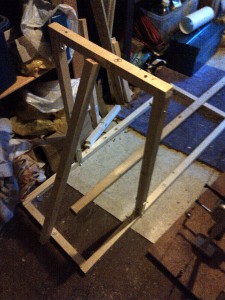
Below is an idea of what the catapult will look like when all put together, it has the three different elements. I’ll post a final picture tomorrow showing what the finished product looks like, including a clip of it in action…
You can see the rectangular base, the barrier to stop the throwing arm and the throwing arm itself is resting on the floor.
If you’d like detailed plans then drop me a line.


